Step 1: Pre-Installation Planning and Site Preparation
Every successful exterior wall panel installation begins with detailed planning. Before the panels even arrive on-site, coordination between the project manager, design team, and installation crew is critical. Start by reviewing the panel layout drawings and shop drawings provided by the manufacturer to ensure accuracy in measurements, window and door openings, and mechanical penetrations.
Checklist for Pre-Installation:
- Confirm panel delivery dates and staging logistics
- Ensure the structural frame is plumb, level, and square
- Verify all anchor locations and structural connections
- Coordinate crane access and panel lifting zones
- Check weather forecasts to avoid unnecessary delays
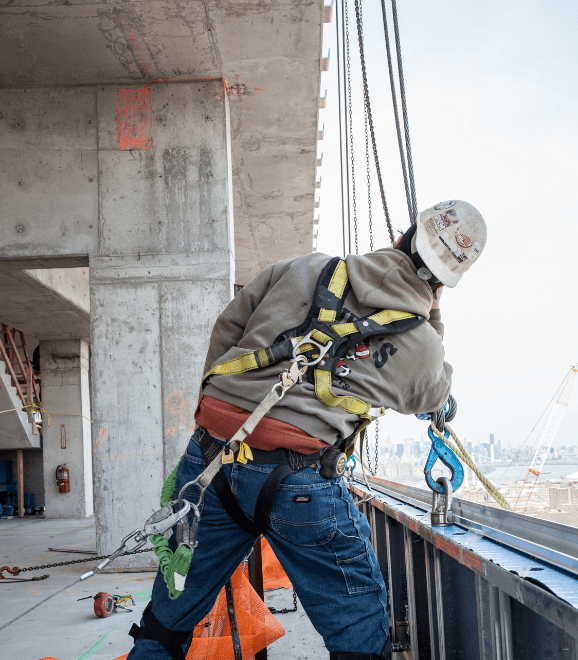
Preparing the installation site ahead of time also involves setting up scaffolding or lifts and ensuring all safety equipment is available and inspected.
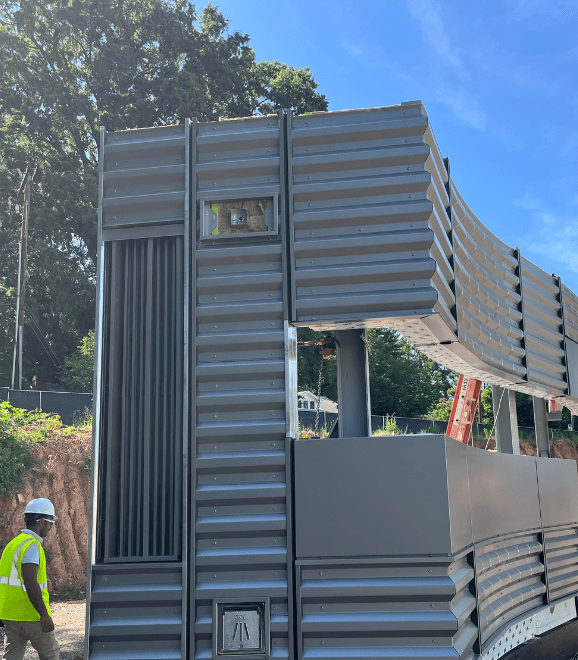
Step 2: Unloading and Staging Prefabricated Exterior Wall Panels
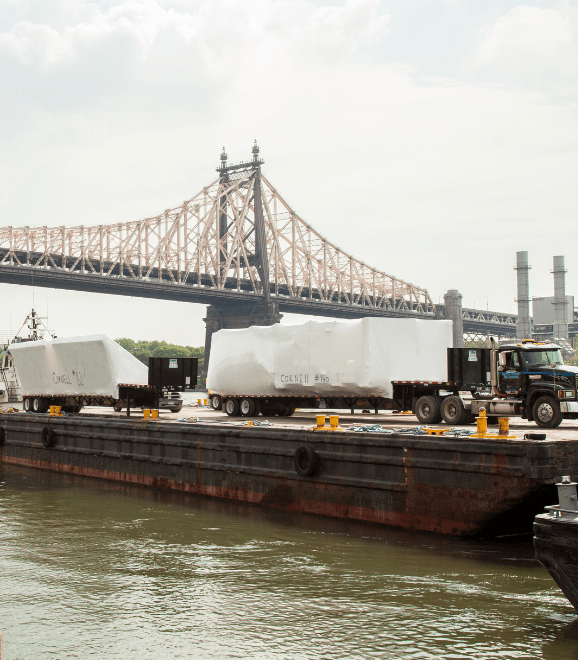
Once the prefabricated exterior wall panels arrive, it’s important to handle them with care to prevent damage. Use appropriate rigging equipment—such as lifting lugs or suction lifts—based on the panel design and weight.
Panels should be unloaded in the order of installation and staged in a way that minimizes movement. Labeling and sequencing by the manufacturer make this process more efficient.
Best Practices:
- Always lift panels vertically to avoid flexing
- Use padded supports to prevent scratching or denting
- Inspect each panel for damage before installation
- Keep panels covered to protect against moisture or UV exposure if not installed immediately
Proper staging ensures that each exterior wall panel installation proceeds without unnecessary delays or confusion on site.
Step 3: Layout and Positioning
Before lifting the first panel into place, confirm layout lines on the building structure. These layout lines guide the exact placement of each panel to ensure they are plumb, level, and aligned with adjacent systems.
Use a laser level or total station for precision. Panels must align not only horizontally and vertically, but also in terms of depth to maintain a consistent façade appearance.
Pro Tips:
- Double-check alignment at corners and openings
- Maintain expansion joints as specified
- Ensure thermal breaks are in place where required
- Use shims for minor adjustments during panel placement
Accurate panel layout reduces the risk of field modification, which can compromise the performance of prefabricated exterior wall panels.
Step 4: Installation and Fastening
With everything aligned, it’s time to begin the actual exterior wall panel installation. Most prefabricated panels are designed for mechanical fastening to the building’s structural frame using pre-determined anchor points.
Depending on the system, connections might include:
- Embedded anchors
- Weld plates
- Bolts and brackets
- Clips and rails
Once a panel is in position, fasten it securely according to the manufacturer’s specifications. Use a torque wrench where necessary to avoid over- or under-tightening.
Key Reminders:
- Check the manufacturer’s installation tolerances
- Seal connections to ensure air and water barriers are continuous
- Apply proper gaskets or sealants as required
- Follow sequence carefully to maintain structural integrity
The precise nature of prefabricated exterior wall panels means the installation process must be equally exact to achieve a weather-tight, durable enclosure.
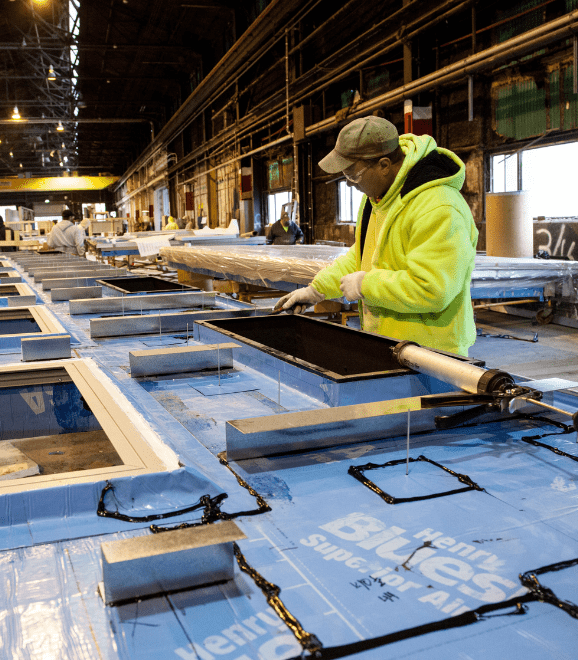
Step 5: Sealing and Weatherproofing
After panels are mechanically attached, the next step is to complete sealing and waterproofing. This ensures that the building envelope is protected from moisture infiltration, which can lead to long-term damage and energy inefficiency.
Typical Sealing Components:
- Backer rod and sealant at joints
- Factory-installed or site-applied gaskets
- Flashing around window and door penetrations
- Tapes or membranes at joint transitions
Ensure that all sealing work is inspected for gaps, voids, or improper adhesion. Continuity in air and vapor barriers is essential, especially in high-performance buildings.
Proper weatherproofing not only enhances thermal performance but also extends the life of prefabricated exterior wall panels by protecting them from environmental stress.
Step 6: Finishing Touches and Inspection
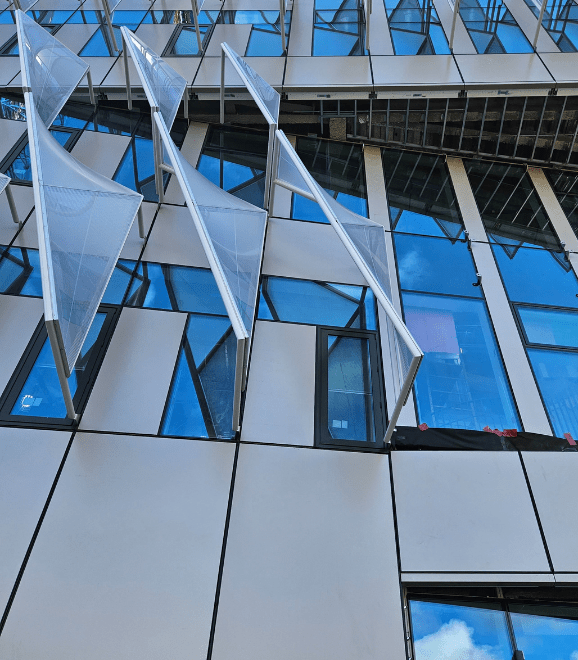
Once all panels are installed and sealed, conduct a final inspection of the façade. This includes checking alignment, joint spacing, color consistency, and sealant application. The quality control team should also verify that the exterior wall panel installation meets all applicable building codes and manufacturer standards.
If necessary, clean the panels using approved products to remove dust, debris, or sealant residue. Avoid harsh chemicals that could damage the finish or cladding.
Final Inspection Points:
- Proper anchorage and fasteners in all panels
- Consistent vertical and horizontal joint lines
- Correct sealant application and curing
- Satisfactory aesthetic appearance
- Documentation of as-built conditions
At this stage, the building’s envelope is typically enclosed and weather-resistant, allowing interior trades to proceed without delay.
Common Pitfalls to Avoid
While prefabricated exterior wall panels are designed for efficient installation, there are still potential pitfalls to be mindful of:
- Inadequate Planning – Last-minute layout changes or incomplete drawings can disrupt the sequence and require costly adjustments.
- Improper Handling – Mishandling during transport or staging can cause cracks, scratches, or alignment issues.
- Out-of-Sequence Installation – Skipping or rearranging the installation order can lead to misalignment and sealing challenges.
- Neglecting Tolerances – Even small deviations in panel placement can snowball into major fit issues down the line.
- Incomplete Sealing – Improper or missing sealants compromise air, water, and vapor barriers, leading to long-term building performance issues.
Avoiding these mistakes ensures that your exterior wall panel installation is not only efficient but also meets the highest standards of quality and durability.
Conclusion
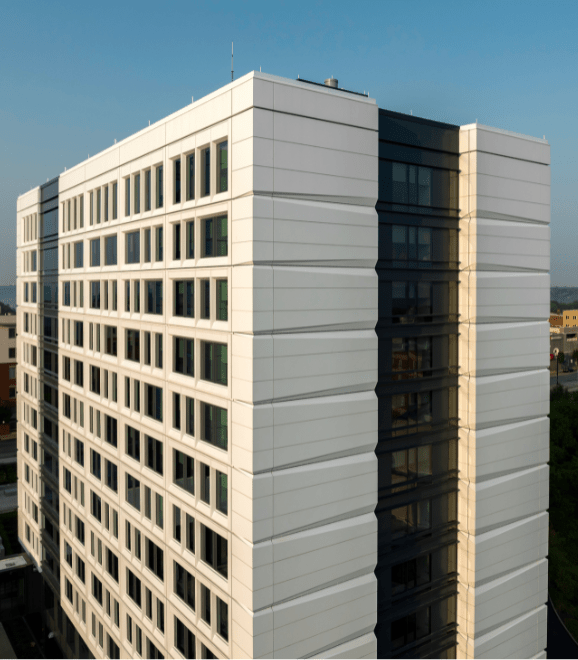
The installation of prefabricated exterior wall panels is a sophisticated process that combines planning, precision, and performance. By following a step-by-step approach—from site preparation and panel handling to sealing and final inspection—construction teams can maximize the benefits of prefabrication while minimizing risk.
With proper tools, techniques, and teamwork, exterior wall panel installation becomes a smooth, predictable process that accelerates project timelines, reduces site disruption, and delivers beautiful, high-performance building façades.
As more professionals adopt prefabrication, mastering this process will be critical for staying ahead in the future of construction.